Knowledge base · Acquisition
How to use a Fluke OptiFiber Pro OTDR and read its report
OptiFiber Pro is an OTDR module that attaches to a Versiv main unit. This is the order of work with it, from the test setup to a saved result, and how the result becomes a report in LinkWare PC. The steps are retold from the Fluke Networks guide and the LinkWare help, and the instrument's button names stand in quotes.
An OptiFiber Pro trace comes as a .tst file, and it opens here without LinkWare. Copper certification results and LinkWare .flw databases do not open.
By Vera (new to the field) ·
Test setup
Everything that defines the test is set on the setup screen before you tap TEST.
Auto OTDR
Choose Auto OTDR as the test type: the instrument looks at the fibre and picks the acquisition settings itself, so there is no need to choose pulse and range by hand. The wavelengths to test are ticked on the same screen.
Fibre type and test limit
Fiber Type takes the type of fibre, and Test Limit the limit the instrument will judge PASS or FAIL against. The limit is chosen for the particular job, since every test's verdict depends on it. Where such limits come from is covered in the guide on pass/fail thresholds.
Project and cable ID
A project is set up from the home screen: it holds the settings and tests for one job, and its results. The cable IDs, auto save and the fibre end the measurement is taken from are set there too.
The cords and the test itself
Fluke recommends testing with launch and tail cords: without them the first and last connectors of the link have no backscatter before or after them, and nothing to measure them by. The cords are of the same fibre as the link. Launch compensation is switched on in the setup, and the tools offer the Launch + Tail method: the cords are joined to each other through an adapter, the instrument shoots them and asks you to mark the event at the joint. From then on the cord lengths are subtracted from every distance.
Before the test, clean and inspect the connectors on the cords and the link, connect the cord, link, cord chain and tap TEST.
A passed test is saved with SAVE; a failed one can be put aside with FIX LATER. The result goes under its cable ID into the current project. It leaves the instrument for a PC over USB, onto a flash drive, or over the network to the LinkWare Live cloud.
How to read a Fluke result and report
The instrument shows the result in three views. EventMap is a diagram of the link: events as icons, the fibre length and the overall loss, and tapping an event opens its details. TABLE lists the events with distance, loss, reflectance and type. TRACE is the trace itself, where the dead zones after reflections show, along with what the table calls ghosts and gainers.
The report is printed by LinkWare PC, not by the instrument: the results go into its database, and the printed report is built from there. What it shows and how it looks can be set, and your own picture can replace the standard logo. For an OTDR record a span can be set there too, the start and end of a stretch of the trace. The record's results are then taken from that span, and no test data is deleted.
LinkWare can export a trace to Bellcore .sor: one file per wavelength, with the cable ID and fibre end in the name. That is how a Fluke result is passed to someone who has no LinkWare.
The same file here
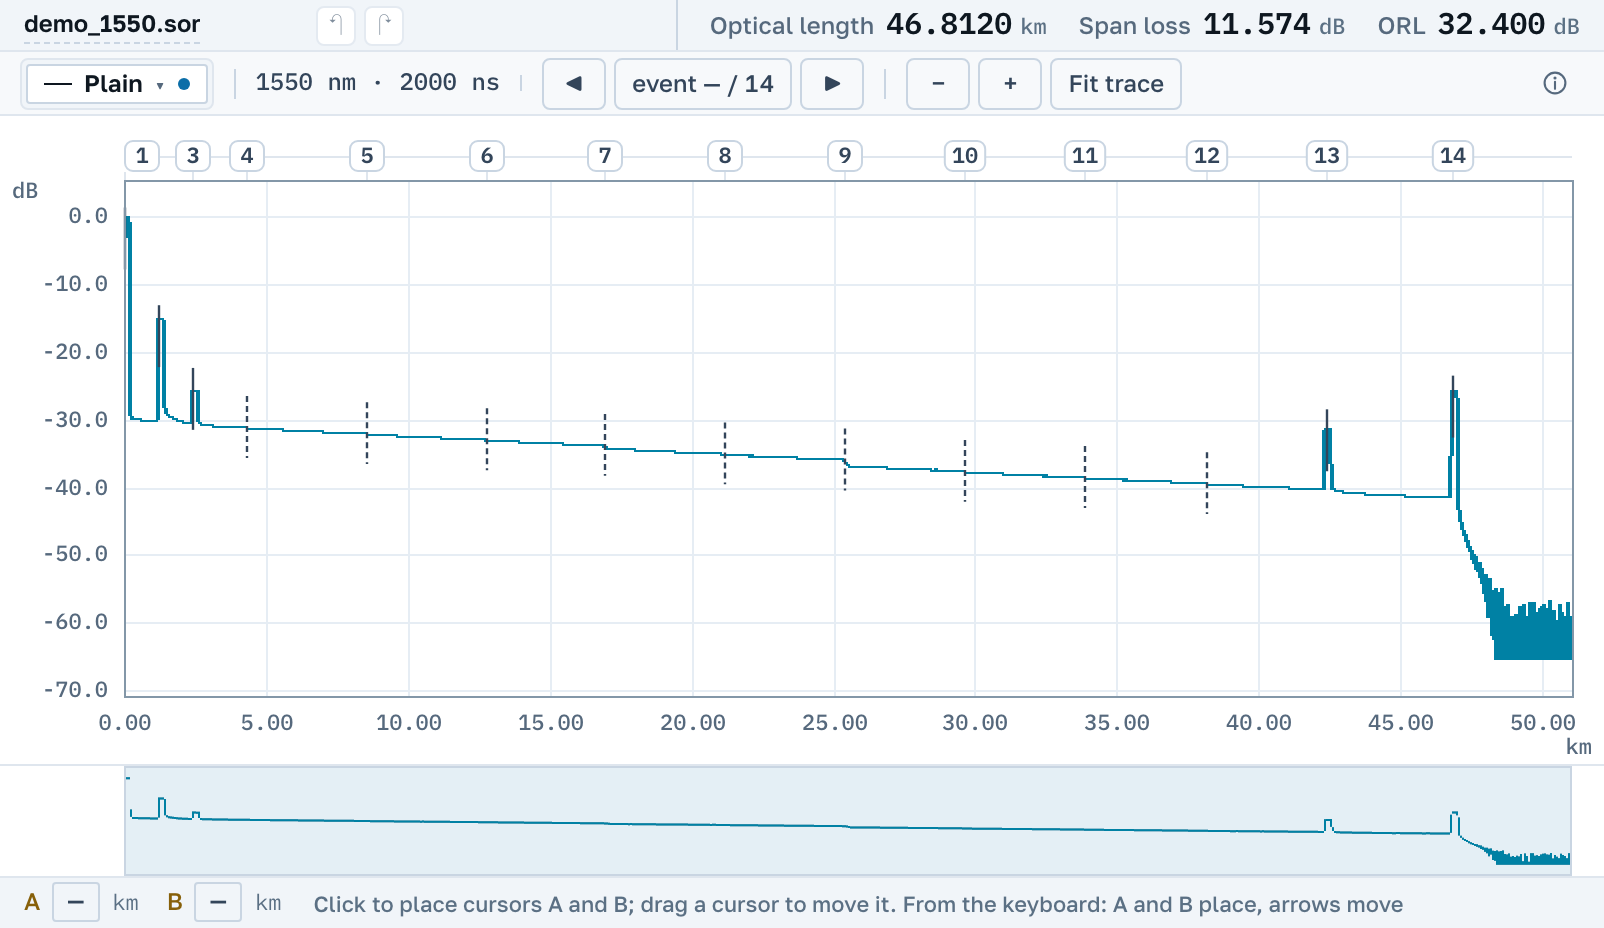
Open a .tst from an OptiFiber Pro and the screen shows the trace at each wavelength, the instrument's event table and the acquisition parameters, on any system and without LinkWare. The event Fluke calls a gainer is called Gainer here too, with an explanation beside it of where the minus comes from. The trace can be saved as .sor straight from here.
A LinkWare .flw database and copper certification results do not open here: they are not OTDR traces. A PDF sheet of your own for the trace is made right here, free.